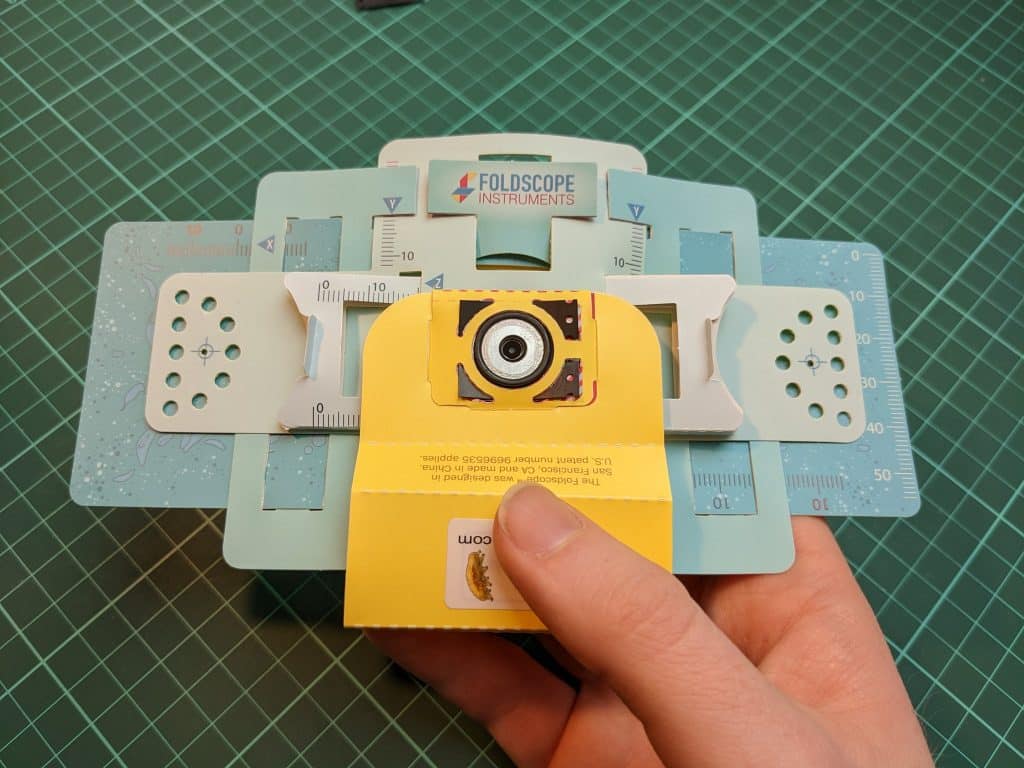
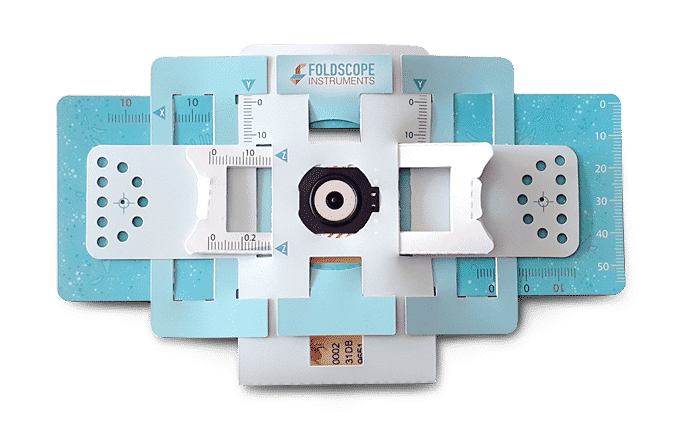
The Foldscope is a paper microscope that was the first step toward making science more accessible. That idea has blossomed into a corporation that now ships low-cost tools to customers all around the world! Foldscope has touched more than 1.5 million people and has built an online community of explorers unlike any other on the internet.
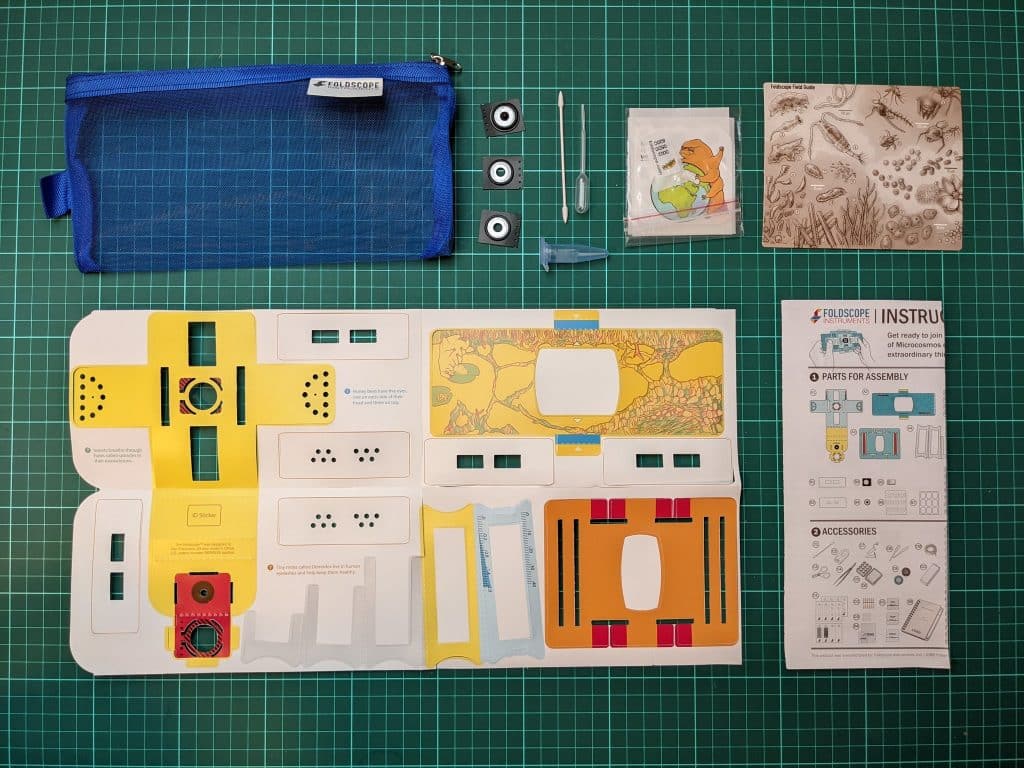
Ingredients:
STEP 1
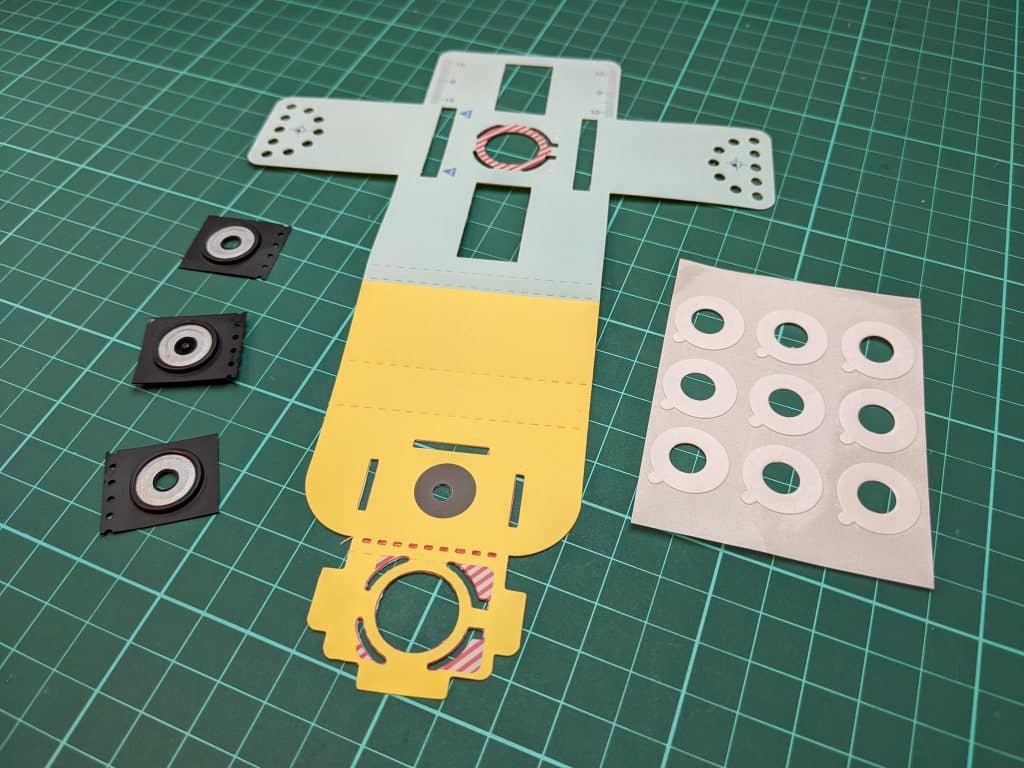
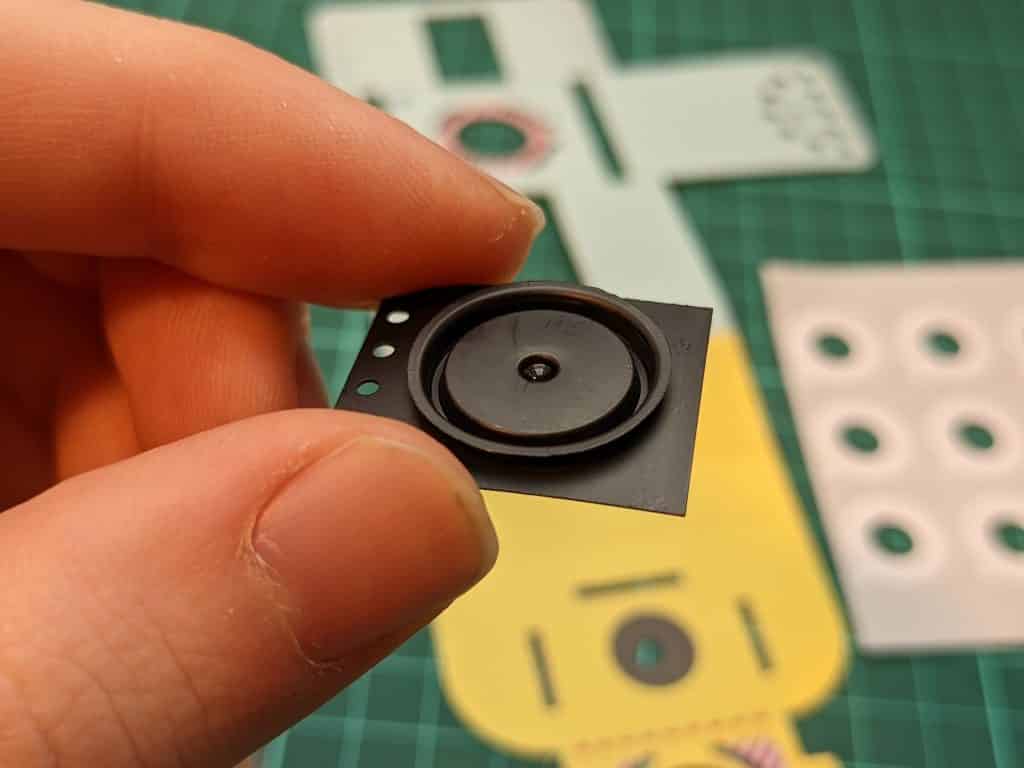
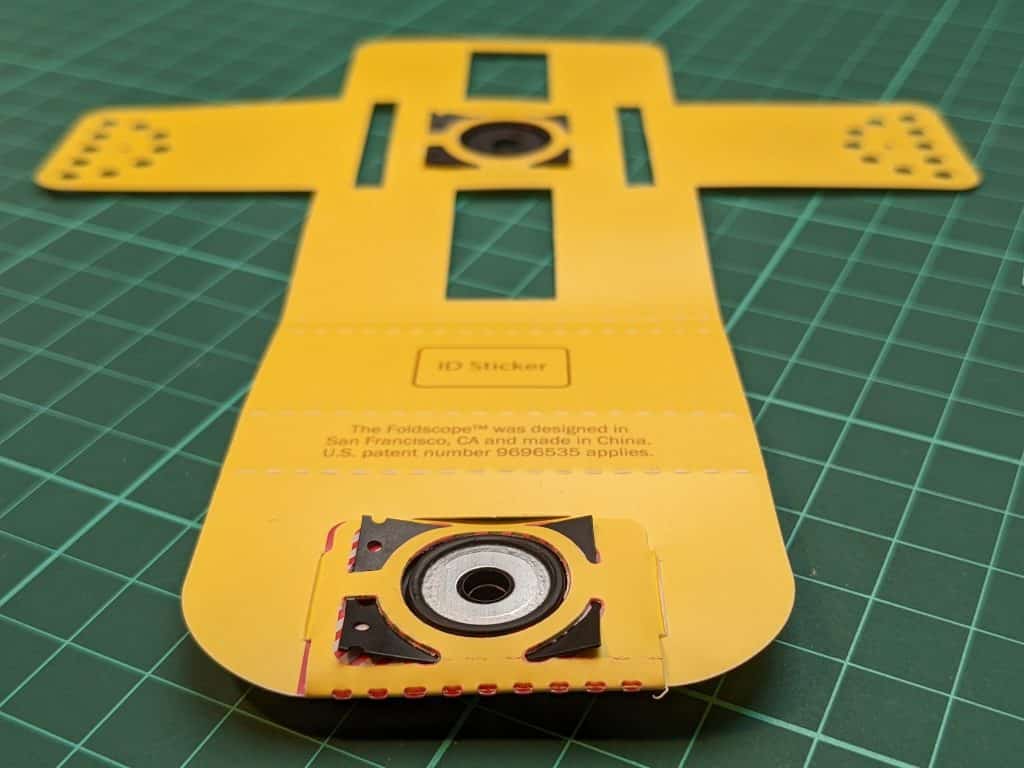
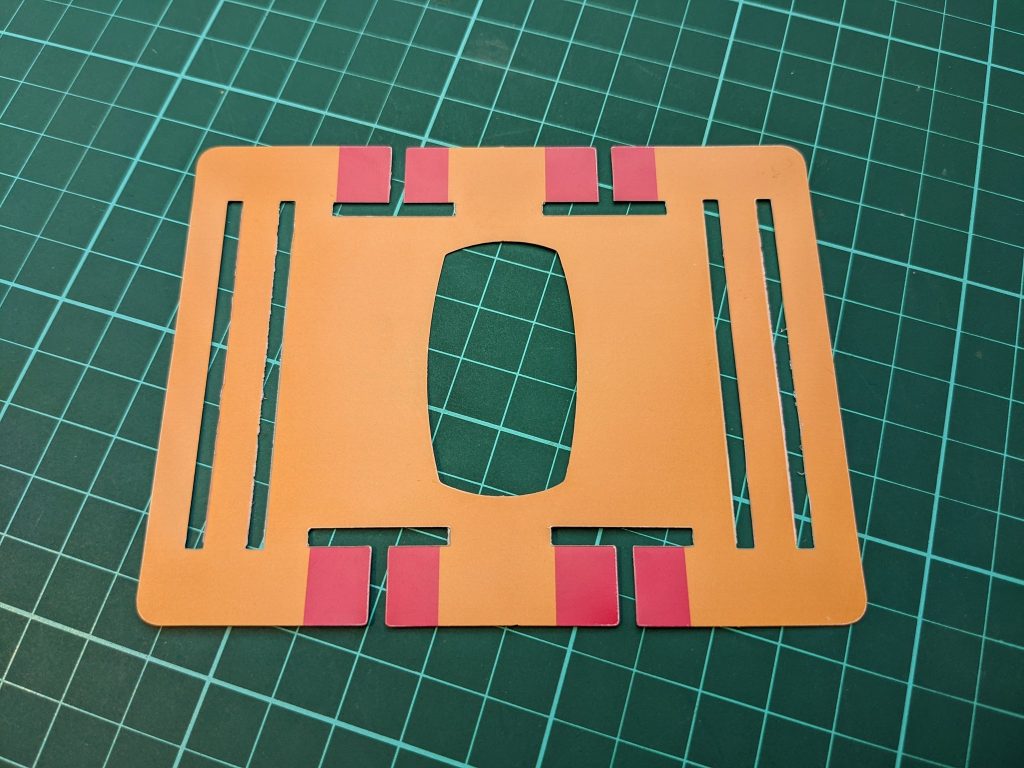
First and foremost, we construct the lens stage! Punch a hole in the paper piece, and you’ll discover two magnetic couplers as well as a lens! The lens is nothing more than a tiny spherical of borosilicate glass that has been placed in a piece of plastic. Insert the two magnetic couplers into the lens stage by pressing their corners into the curved slots on either side. They will be attached to the lens at a later time.

STEP 2
Fold the bottom flap back on itself to complete step 2. Everything is color-coded, and everything is held together by excellent mechanical design.
STEP 3
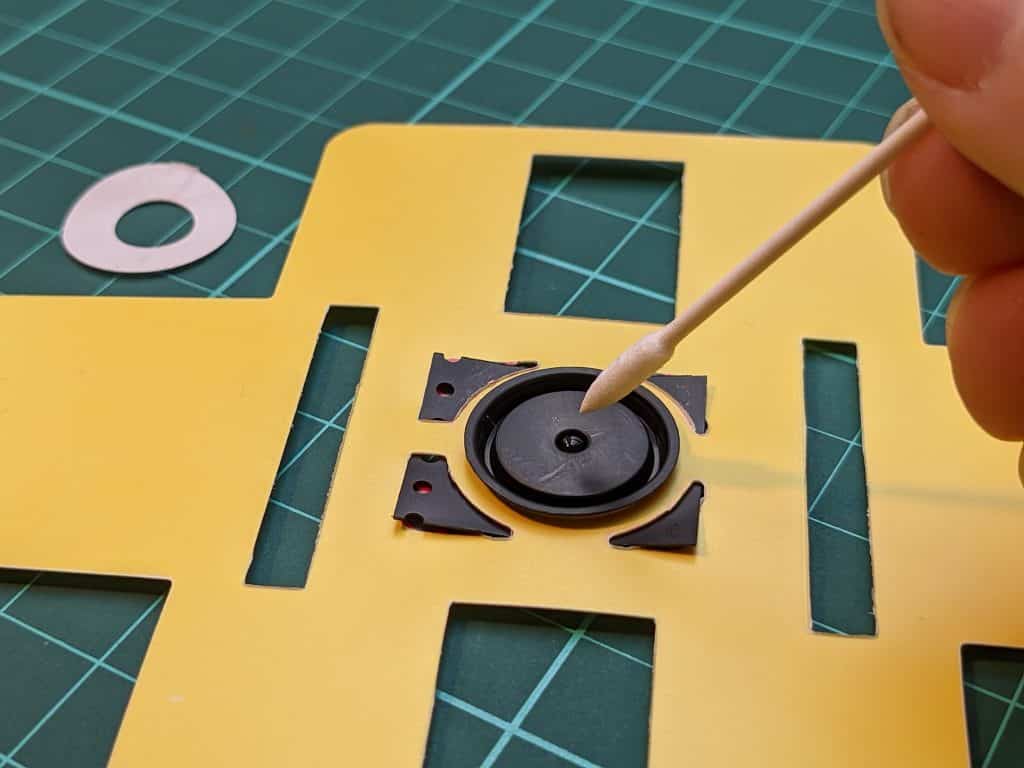
Attach the lens to one of the couplers with the help of a ring sticker—clean both sides of the lens with a soft cloth.
STEP 4
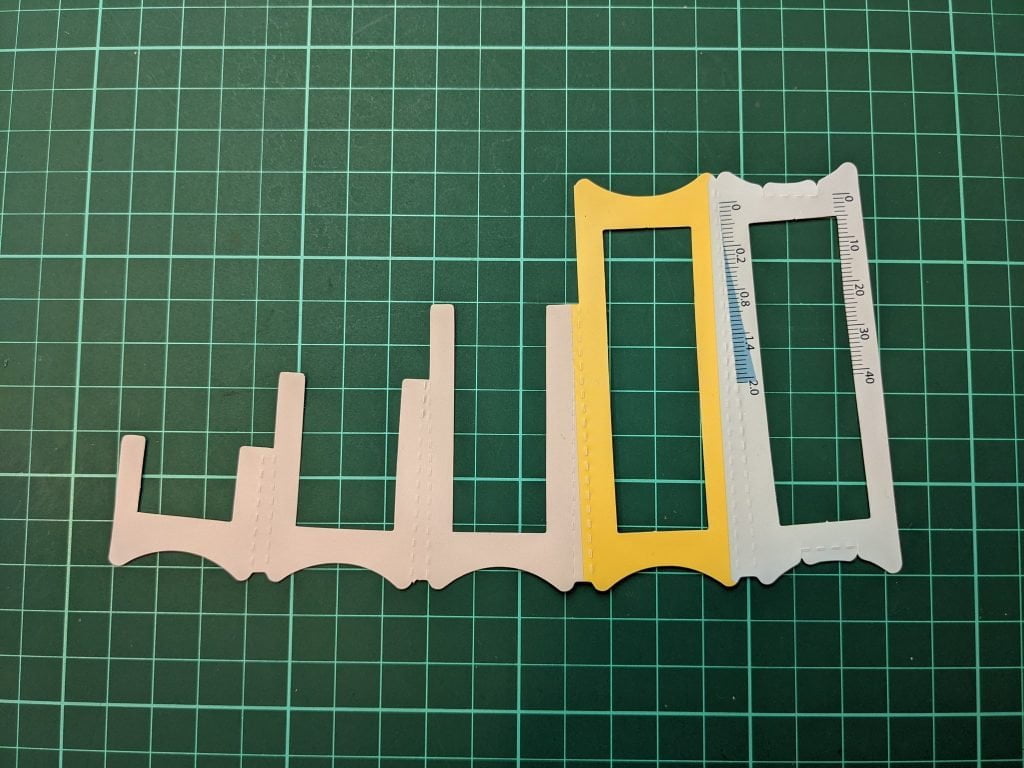
After that, let’s put together the “concentration ramp”! Fold it up to form a wedge, and then put it under the lens to protect it. We’ll be able to adjust the distance between the sample and the lens by adjusting the position of this item left and right!
STEP 5
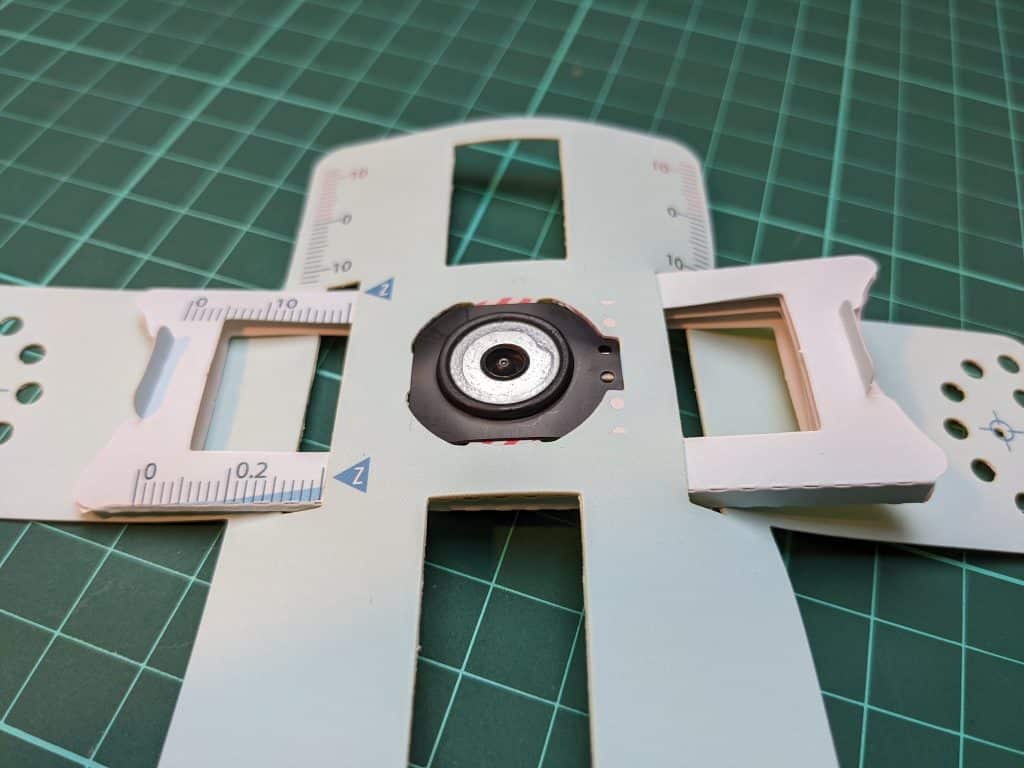
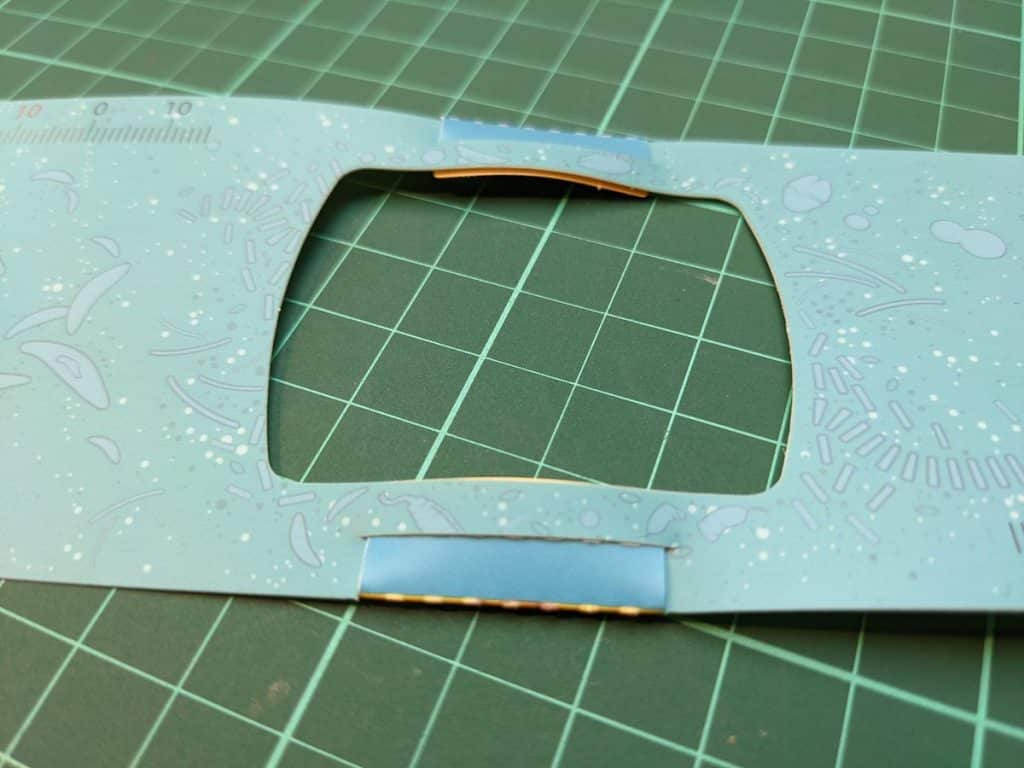
The sample stage is the final component of the process. We fold these small tabs in order to increase the stiffness of the top and bottom bridges.
STEP 6
The “panning guide” is the fourth and final piece of the puzzle! So let’s weave the sample stage through the slots of the panning guide to complete the loop.
STEP 7
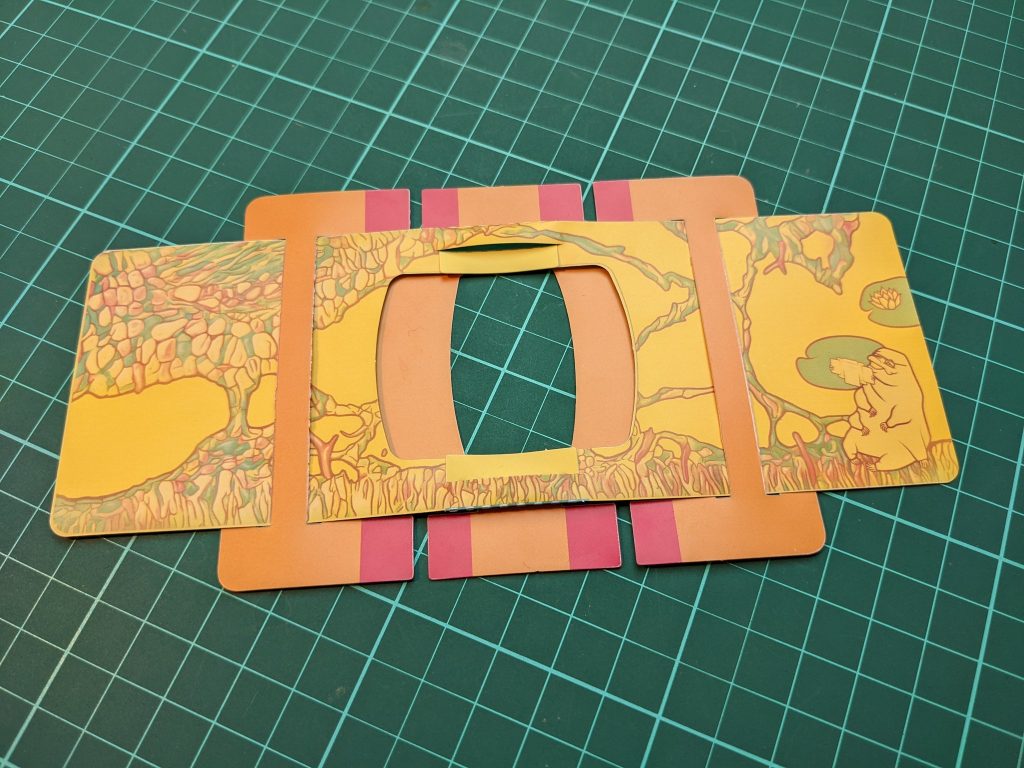
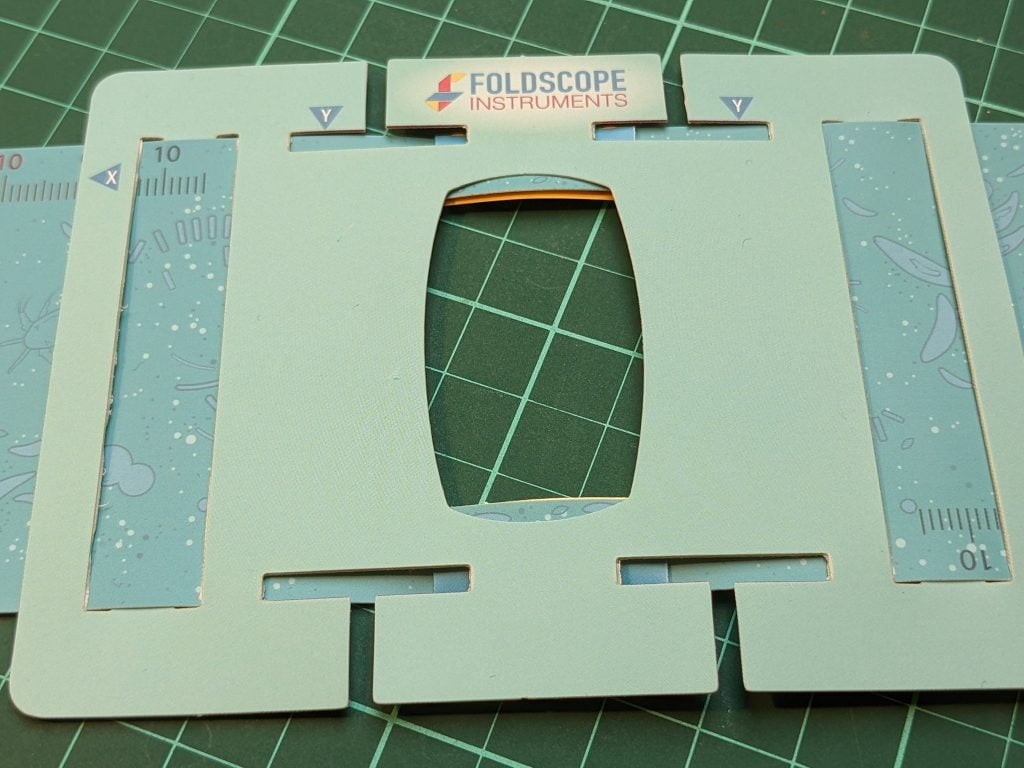
Now that we have the lens stage in place, the T-shaped openings on the opposite side become significant because we can snap it into them to keep it in place!
STEP 8
And with that, we’re finished.
